
Shaping the Top of Frame C
The top side of frame C turned out to be one of the trickiest pieces so far: wide, curved, and with a new width of 45mm. The first step was drawing everything on the 10cm board I had cut earlier.
I placed the board over a horizontal line on my MDF, aligned it with the reference points, and marked vertical lines directly on the board.
 |
| Vertical lines matching the left, right and center points |
In the middle, I located the top of the curve at the proper offset, then measured 45mm down to mark the full width of the piece.
 |
| CE is the center top of the curve, then the 45mm width of the top side |
From the plans, I knew the NW and NE points sat 4cm lower than the curve’s peak, so I marked those too, adding the 30° outside lines that run from them. Finally, using the adjoining pieces, I worked out the inside lines, and with all reference points in place, I was ready to draw the curve.
 |
| The side points are 4 cm below CE; marked the 30° line |
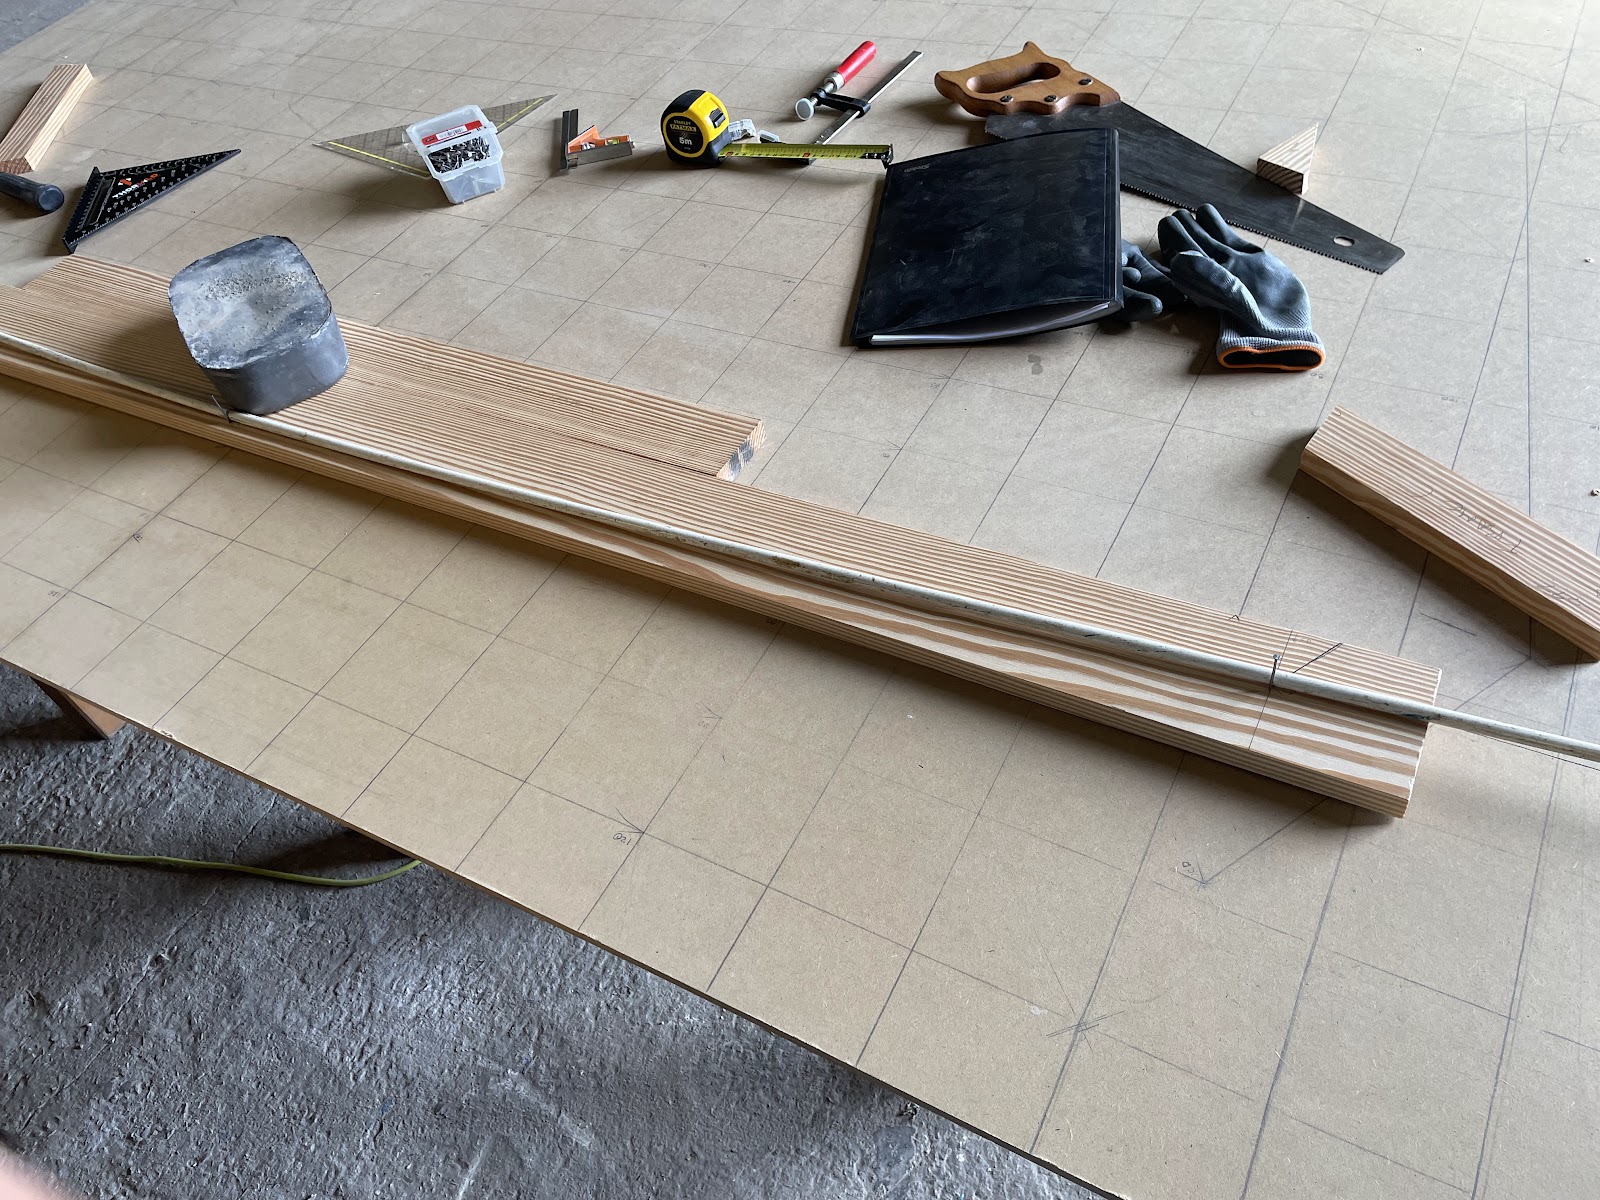
Once again, nails and weights held my flexible rod in position, and I traced both top and bottom curves. The board was ready for cutting.
 |
| Marking the curve |
Because this was a big piece, I first drew extra practice curves on the offcut sides of the board. That was a smart move—moving such a long board through the bandsaw is far harder than it looks, and my first attempts were shaky. But after a few practice runs, I felt steady enough to go for the real cuts. They came out well, though following a long curve precisely takes real concentration.
 |
| Cutting such a long line requires concentration |
The small 30° angled ends were easy enough to saw by hand. With that done, I could finally see frame C complete for the first time!
 |
| All the sides ready! Or are they? See the next post |
Of course, the curves still needed tidying. The bandsaw leaves a rough surface, so I reached for my hand plane. I practiced first on the offcuts, which had the exact same curves, until I got the hang of it.
 |
| Using the hand plane to remove the saw rough edges |
Then, I planed the real pieces smooth and finished with my old trick—sandpaper fixed on the table, rubbing the pieces across it for the last refinements.
 |
| This method allows a wider sanding motion with the correct alignment |
The hand plane worked beautifully on the outside (convex) curves, but less so on the inside (concave) ones, where the blade can’t always reach. Still, I managed to smooth most of it; the inside can be improved later before painting, and the outside will eventually be hidden under fiberglass and plywood.
The next step is cutting the missing plywood knees. That deserves its own post—especially since I almost managed to mess up the bottom of this frame in the process…


Comments
Post a Comment